In today’s fast-paced world, shipping packages has become a common occurrence for individuals and businesses alike. Whether you are shipping a package across the country or across the world, creating and printing a shipping label is a crucial part of the process. In this article, we will discuss the steps involved in creating and printing shipping labels, as well as the resources and supplies you need to get the job done.
Step 1: Gather Information
The first step in creating a shipping label is to gather all the necessary information. This includes the recipient’s name and address, your return address, and any other relevant details such as package weight and dimensions. If you are shipping internationally, you will also need to include the recipient’s phone number and email address. It is important to double-check all of this information to ensure that it is accurate and complete.
Step 2: Choose a Courier Service
The next step is to choose a courier service. There are many options available, ranging from traditional postal services like USPS and Canada Post to private companies like UPS, FedEx, and DHL. Each service has its own pricing structure, delivery times, and package size and weight restrictions, so it is important to research your options to find the best fit for your needs.
To get started, visit the websites of each courier service to compare rates and services. You can also use comparison websites like ShippingEasy, ShipStation, or Easyship to compare courier services and rates side-by-side.
Step 3: Purchase Shipping Supplies
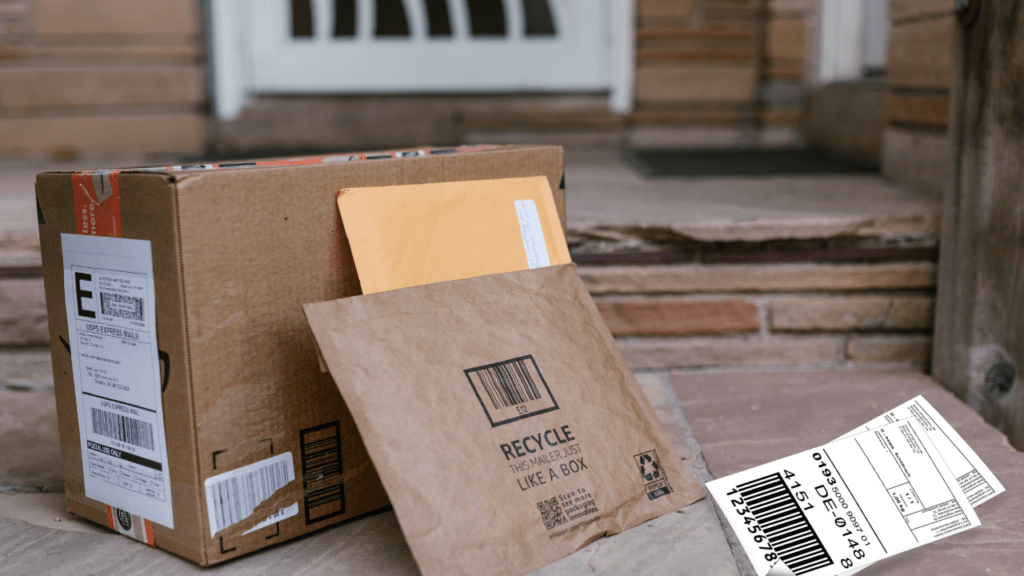
Once you have chosen a courier service, you will need to purchase shipping supplies. This includes packaging materials like boxes, envelopes, and bubble wrap, as well as shipping labels and adhesive tape. Most courier services offer free or discounted shipping supplies, so be sure to check their websites for details. Alternatively, you can purchase shipping supplies from online retailers like Amazon or Staples.
Step 4: Create Your Shipping Label
Now that you have all the necessary information and supplies, it is time to create your shipping label. Most courier services offer online tools for creating and printing shipping labels, but you can also create them manually using a computer and printer.
To create a shipping label online, simply log in to your courier service’s website and follow the instructions. You will need to enter the recipient’s name and address, your return address, package weight and dimensions, and any additional details required by your courier service. Once you have entered all of the necessary information, you can print your label directly from the website.
If you prefer to create your shipping label manually, you can use a program like Microsoft Word or Google Docs to create a label template. Simply enter the necessary information into the template and print it onto adhesive shipping labels. You can purchase adhesive shipping labels from online retailers like Amazon or Staples.
Step 5: Attach Your Shipping Label
Once you have created your shipping label, it is time to attach it to your package. If you are using a self-adhesive label, simply peel it off and stick it onto the package. If you are using a paper label, use clear adhesive tape to attach it to the package. Make sure the label is securely attached and clearly visible to the courier.
Step 6: Schedule a Pickup or Drop Off Your Package
Finally, it is time to send your package on its way. Depending on your courier service, you can either schedule a pickup or drop off your package at a designated location. If you are scheduling a pickup, make sure to select a date and time that is convenient for you. If you are dropping off your package, be sure to check the courier’s website for drop-off locations and hours of operation.
Creating and printing shipping labels is an essential part of the shipping process. By following these six steps, you can ensure that your packages are delivered safely and efficiently.